Epoxy resins are versatile and powerful adhesives that have found their way into various industries, from woodworking and construction to automotive and crafts. One of the most efficient tools for working with epoxy resins is the epoxy gun. In this guide, we will delve into the world of epoxy guns and provide you with a step-by-step tutorial on how to use them effectively and safely.
What is an Epoxy Gun?
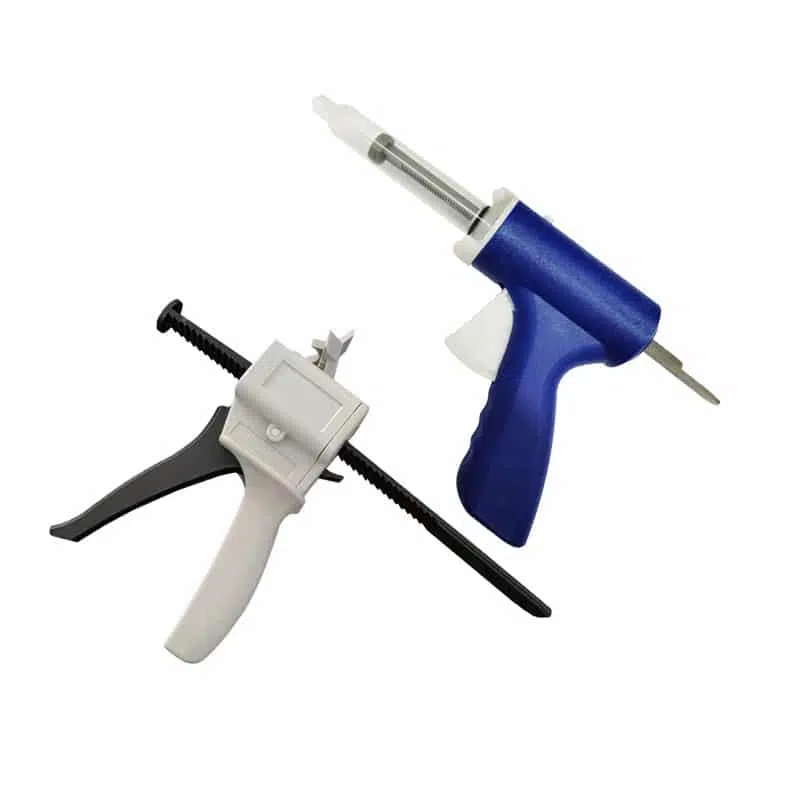
An epoxy gun, also known as a dual-cartridge dispensing gun or epoxy applicator, is a specialized tool designed to accurately mix and dispense two-part epoxy resins. These resins typically consist of a resin and a hardener, which need to be mixed in precise proportions to achieve the desired adhesive properties.
Step-by-Step Guide to Using an Epoxy Gun:
Step 1: Gather Your Materials
Before you begin, make sure you have all the necessary materials on hand:
- Epoxy gun
- Two-part epoxy cartridges (resin and hardener)
- Mixing nozzles
- Protective gloves and safety goggles
- Clean, lint-free cloth
- Surface to be bonded
- Disposable mixing container (if needed)
Step 2: Prepare the Epoxy Gun
-
Load the cartridges:
Open the epoxy gun and insert the resin and hardener cartridges into their respective compartments. Ensure that they are securely in place.
-
Attach the mixing nozzle:
Most epoxy guns come with mixing nozzles that attach to the cartridges. Screw the mixing nozzle onto the cartridges’ outlets.
-
Check the trigger mechanism:
Test the trigger mechanism to ensure smooth and even dispensing of the epoxy. Familiarize yourself with how the trigger works and how to control the flow of epoxy.
Step 3: Prepare the Work Area
-
Choose a well-ventilated area:
Epoxy resins can emit fumes, so it’s important to work in a space with good ventilation. If possible, use a fume hood or work outdoors.
-
Protect surfaces:
Cover your work surface with a disposable material like plastic or cardboard to catch any accidental drips or spills.
Step 4: Dispense and Mix Epoxy
-
Prime the gun:
Squeeze the trigger a few times to prime the gun and ensure both the resin and hardener are flowing smoothly.
-
Dispense a small amount:
To ensure the epoxy is mixed properly, initially dispense a small amount onto a disposable surface until you see an even mixture of resin and hardener.
-
Begin application:
Apply a thin, even bead of epoxy to one of the surfaces you intend to bond. Make sure you work quickly but accurately.
Step 5: Bonding
-
Press surfaces together:
Once epoxy is applied, carefully press the two surfaces you’re bonding together. Apply steady pressure for the epoxy to create a strong bond.
-
Cleaning up excess epoxy:
Use a clean, lint-free cloth to wipe away any excess epoxy that may have oozed out during the bonding process.
Step 6: Curing and Cleanup
-
Allow curing time:
Different epoxy formulations have varying curing times. Follow the manufacturer’s instructions for the specific epoxy you’re using. Keep the bonded pieces stationary during the curing process.
-
Remove mixing nozzle:
Once you’re done, remove the mixing nozzle from the epoxy gun and dispose of it properly.
-
Clean the epoxy gun:
Before the epoxy cures in the gun, wipe any remaining epoxy off the tip and around the cartridge outlets using a clean cloth. This will prevent clogs and ensure the gun can be used for future projects.
Safety Precautions:
-
Ventilation:
Always work in a well-ventilated area or wear a respirator if needed to avoid inhaling fumes.
-
Protective Gear:
Wear gloves and safety goggles to protect your skin and eyes from epoxy contact.
-
Skin Contact:
If epoxy comes into contact with your skin, wash it off immediately with soap and water.
-
Eye Contact:
In case of eye contact, flush your eyes with water for at least 15 minutes and seek medical attention.
-
Storage:
Store epoxy cartridges in a cool, dry place, away from direct sunlight and heat.
Conclusion
Using an epoxy gun can be a rewarding experience, allowing you to create strong and durable bonds for various projects. By following this comprehensive guide and practicing safety precautions, you’ll be well on your way to mastering the art of using epoxy guns effectively and efficiently.