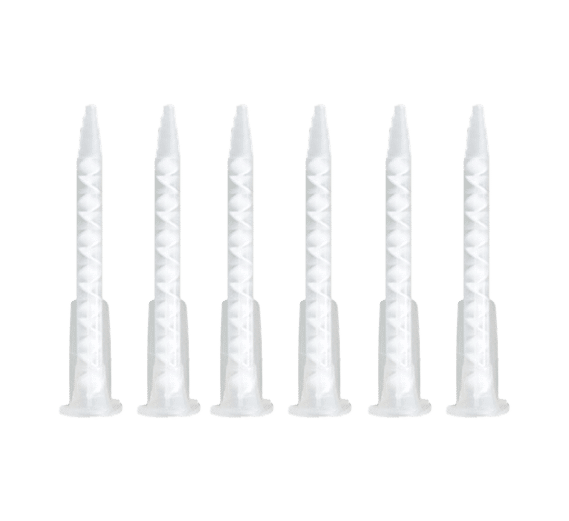
Epoxy adhesives have become indispensable in countless industries and DIY projects, thanks to their exceptional bonding capabilities. Whether you’re working on a woodworking project, repairing your car, or tackling household fixes, epoxy is your go-to adhesive. However, there’s a crucial yet often overlooked aspect of using epoxy that can make or break your project: the need to dry epoxy mixing nozzles before use. In this blog post, we’ll explore the reasons behind this practice and guide you on how to do it effectively.

Why You Should Dry Epoxy Mixing Nozzles:
1. Prevents Premature Curing:
Epoxy adhesives consist of two components—resin and hardener—that must be mixed in precise proportions to initiate the curing process. Once mixed, the clock starts ticking, and there’s no turning back. Moisture is one of the culprits that can trigger premature curing. Thus, keeping your epoxy mixing nozzles dry is essential to ensure the curing process begins only when you’re ready for it.
2. Maintains Adhesive Properties:
Epoxy adhesive is carefully formulated to provide specific properties such as excellent adhesion, strength, and flexibility. When moisture infiltrates the epoxy components, it can alter the adhesive’s chemical composition, leading to compromised performance. In essence, wet nozzles can lead to a weaker bond and less desirable results.
3. Ensures Accurate Mixing:
Proper mixing of epoxy resin and hardener is crucial to achieve the desired bond strength and curing characteristics. Moisture in the nozzle can disrupt the mixing process, resulting in an inconsistent mixture. This not only reduces the adhesive’s effectiveness but can also cause structural weaknesses.
How to Dry Epoxy Mixing Nozzles:
Now that you understand why it’s vital to keep epoxy mixing nozzles dry, let’s explore effective ways to do so:
1. Immediate Nozzle Removal:
After using epoxy, promptly remove the mixing nozzle from the cartridge. Waiting too long can allow any epoxy residue to harden inside, making it difficult to clean later.
2. Cleaning and Inspection:
Wipe the mixing nozzle clean with a cloth or paper towel to remove any remaining epoxy. Examine it closely for any signs of cured epoxy inside the nozzle. If you find cured epoxy, it’s best to replace the nozzle to ensure proper mixing during the next use.
3. Cap or Seal the Cartridge:
Many epoxy cartridges come with caps or plugs designed to seal the nozzle end. Use these caps to prevent moisture from entering the cartridge and nozzle when not in use.
4. Store in a Dry Place:
Choose a storage location that is cool and dry. Moisture can accelerate the curing process of epoxy, so it’s crucial to keep your epoxy supplies away from damp environments.
5. Desiccant or Silica Gel:
Consider placing a desiccant or silica gel packet inside the storage container or bag where you keep your epoxy cartridges and nozzles. These agents help absorb moisture and maintain a dry environment.
6. Seal the Mixing Nozzle:
If you need to store a partially used epoxy cartridge with the mixing nozzle attached, seal the end of the nozzle with a small piece of plastic wrap or a cap designed for this purpose. This prevents air and moisture from entering the nozzle or cartridge.
Conclusion:
In conclusion, the practice of drying epoxy mixing nozzles before use is a crucial step in ensuring successful bonding projects. By following these simple yet effective steps, you can extend the shelf life of your epoxy and achieve consistently strong, reliable bonds in all your endeavors.
