Epoxy mixing nozzle is a critical component in the process of bonding two surfaces together. The mixing nozzle can make it easier to mix and apply the epoxy resin, which is a two-part adhesive that cures to a hard, durable finish. In this article, we’ll look more closely at the proper usage of epoxy mixing nozzles and give you some advice on how to make the most of your epoxy adhesive.


What is epoxy mixing nozzle?
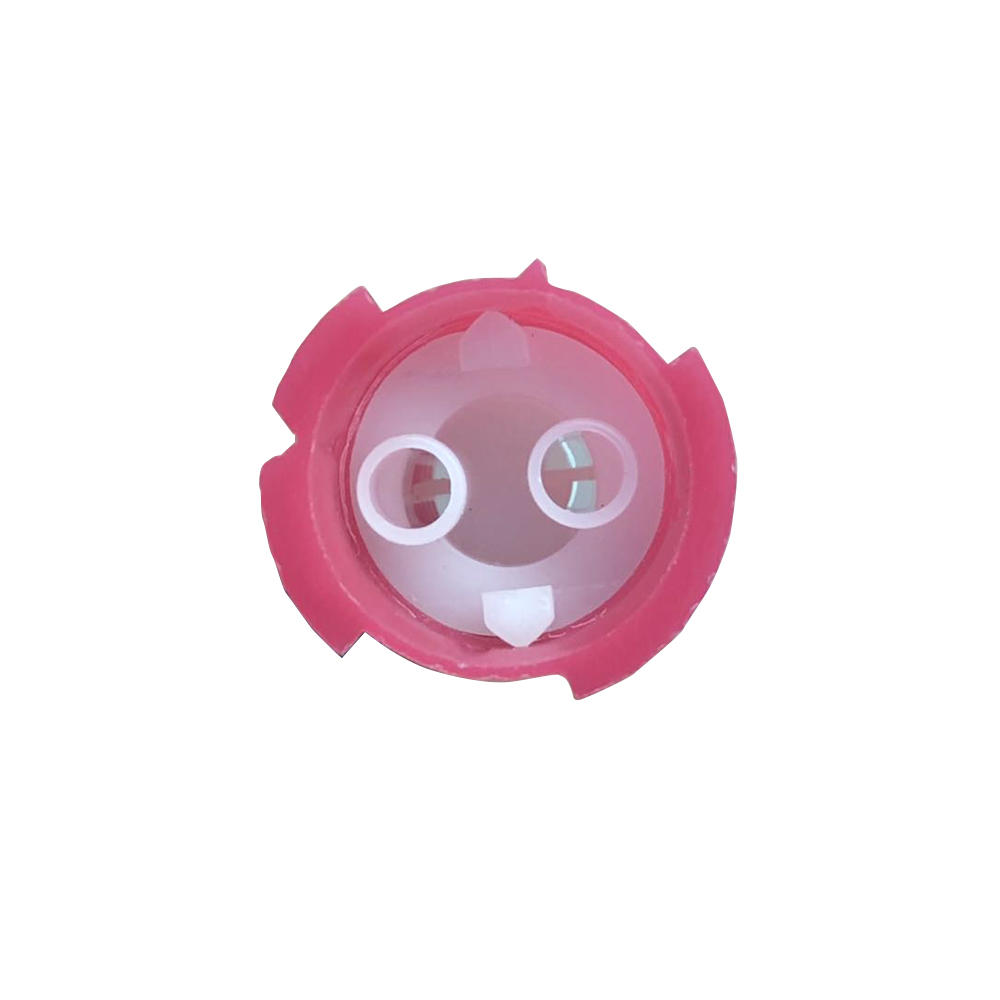
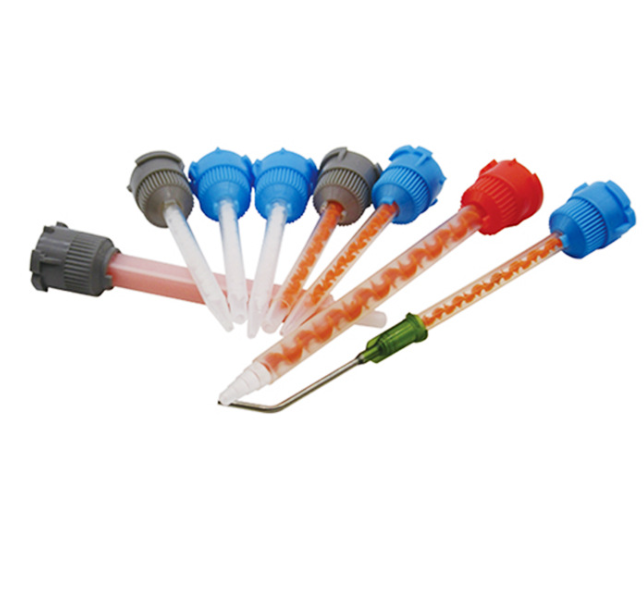
The epoxy mixing nozzle is a disposable, plastic attachment that is designed to fit onto the end of a dual-cartridge dispenser. Two distinct epoxy tubes, one containing the resin and the other the hardener, are kept in the dispenser. The epoxy mixing nozzle is attached to the dispenser and offers a practical method of combining the two ingredients as they are dispensed.
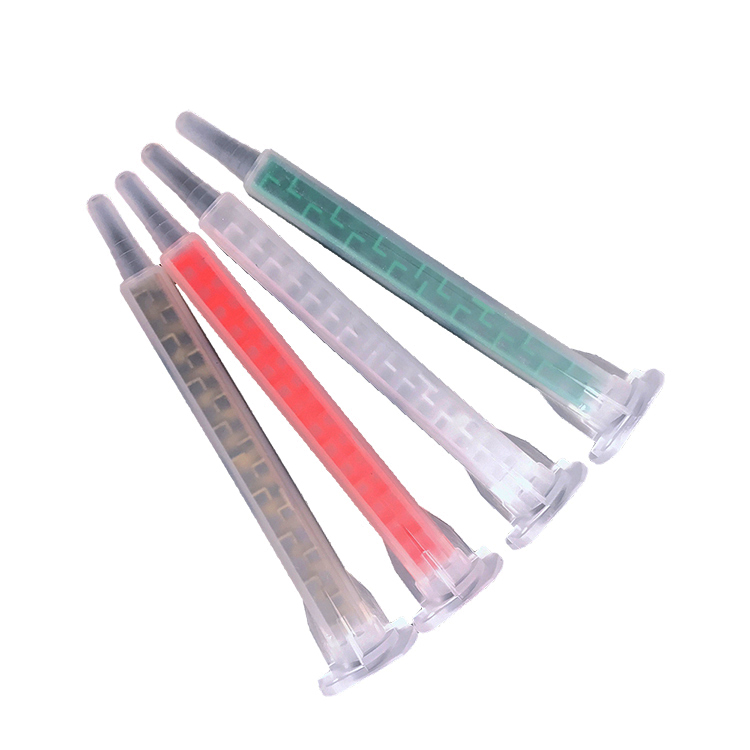
The one category of epoxy mixing nozzles is called static mixing nozzle, which is a series of small, geometrically-shaped fins that are arranged in a helical pattern. The fins combine the resin and hardener to form a homogeneous mixture as the two parts of the epoxy are driven into the nozzle.
Another type of epoxy mixing nozzles is the dynamic mixing nozzle, it is different from the static mixing nozzle is the internal structure can be moved, so after careful cleaning can be reused.
How to use epoxy mixing nozzle?
It’ll be a simple process to use epoxy mixing nozzle after you read this step-by-step guide:
-
Step 1: Make the Surface Clean
The surfaces that need to be bonded must be clean and free of impurities, such as dirt, grease, or oil, before applying an epoxy adhesive. Clean the surfaces well with an appropriate cleaning solution and a lint-free cloth, and then wait until they are totally dry before moving on.
-
Step 2: Attach the Mixing Nozzle
Attach the mixing nozzle to the dual-cartridge dispenser by firmly pushing it onto the end of the cartridge. It need to be straight and erect, and it ought to fit snugly.
-
Step 3: Dispense the Epoxy
Squeeze the trigger on the dispenser to dispense a small amount of epoxy onto a clean surface. As a result, the epoxy will be more thoroughly mixed and any air bubbles in the mixing nozzle will be eliminated.
-
Step 4: Apply the Epoxy
Once the epoxy is mixed, apply it to one of the surfaces to be bonded. Spread the epoxy evenly across the surface using a spreader or a notched trowel to create a consistent coating.
-
Step 5: Join the Surfaces
Align the two surfaces with great care, being careful not to move them once they are in position. While the epoxy sets, apply pressure to the surfaces for a few minutes, holding them in place with clamps or weights.
-
Step 6: Clean the Mixing Nozzle
It is crucial to properly clean the mixing nozzle after using the epoxy adhesive. Any leftover epoxy inside the nozzle should be dissolved using a suitable solvent, such as acetone or isopropyl alcohol. Make careful to adhere to the manufacturer’s recommendations for cleaning and disposal of the nozzle.
Tips
To help you get the most out of your epoxy adhesive and mixing nozzle, here are a few tips you should keep in mind:
-
Choose the right mixing nozzle for your adhesive.
Make sure the mixing nozzle you choose is suitable with the adhesive and dispensing equipment because mixing nozzles come in a variety of sizes and configurations.
-
Use the appropriate volume of epoxy.
A sloppy, uneven bond might result from using too much epoxy or too little epoxy. For advice on how much adhesive to use, refer to the manufacturer’s instructions.
-
Work in a room with good ventilation.
Epoxy adhesives can emit fumes that could be dangerous to breathe in.
In summary, the epoxy mixing nozzle is a very useful tool. If you don’t know how to choose, you can contact us, we have a experienced team to help you select and use the epoxy mixing nozzle.
